.png)
Starting Your Floor Tiling Project: A Step-by-Step Guide
- hassanmasoomi
- May 1, 2024
- 2 min read
Updated: May 1, 2024
Tiling a floor can transform any space, adding beauty and value to your home. Whether you're renovating an old room or finishing a new one, knowing where to start tiling a floor is crucial for achieving professional-looking results. Here’s a detailed guide from Canterbury Tiling Plus, your trusted experts in Christchurch.
1. Preparation is Key
Before you lay down the first tile, ensure your floor is ready for tiling. This involves cleaning the surface thoroughly, removing any debris, dust, or old flooring materials. For wooden floors, ensure they are stable and squeak-free, as movement can cause tiles to crack. Applying a primer or waterproofing membrane (for areas like bathrooms or kitchens) will enhance the adhesion and longevity of your tiles.
2. Find Your Starting Point
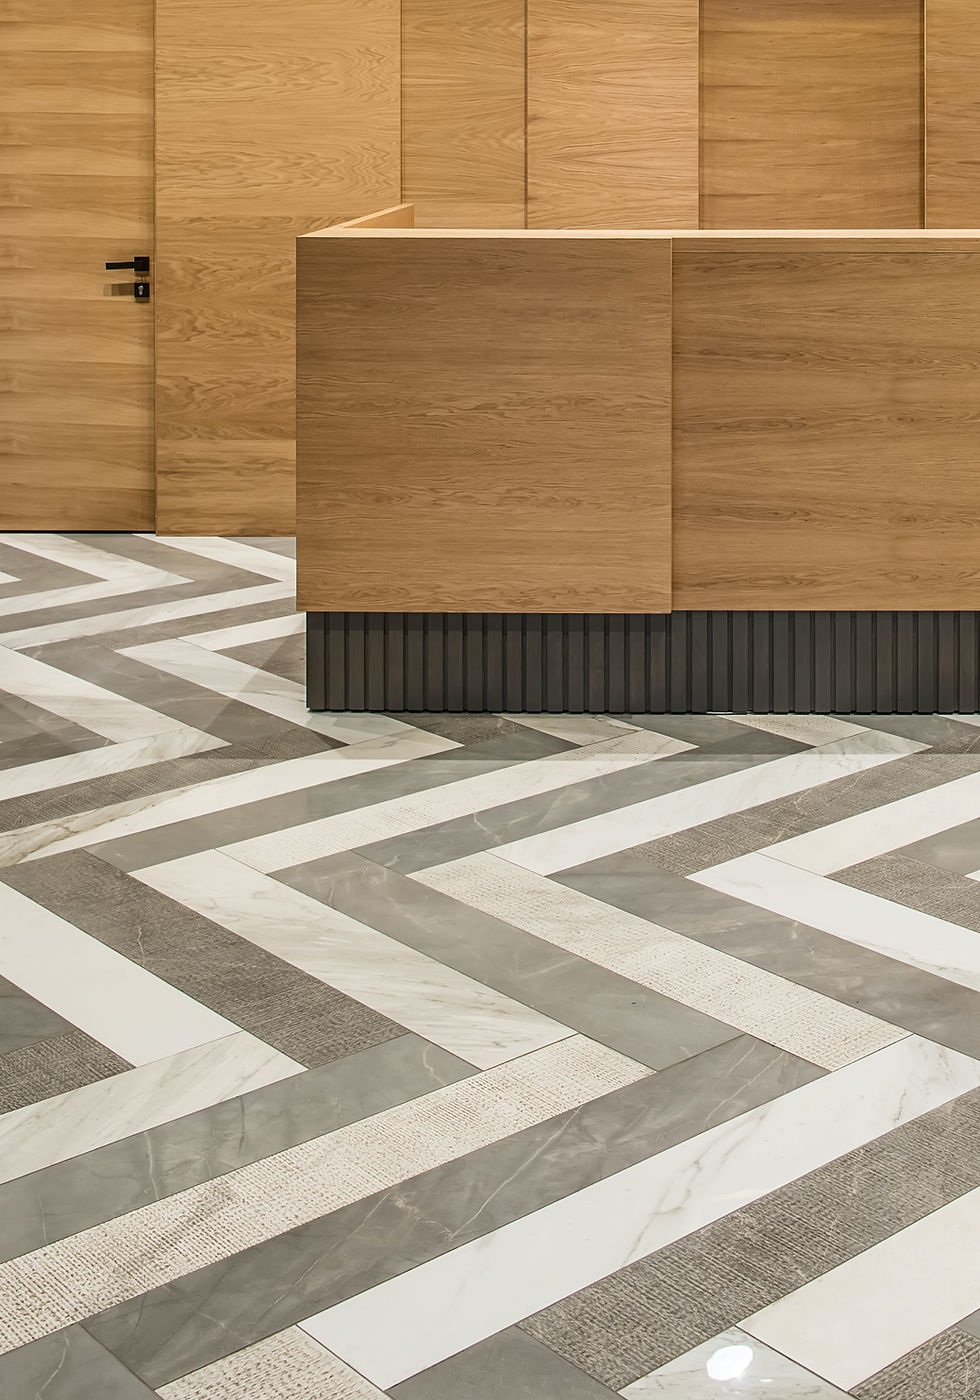
The best place to start tiling a floor is at the center of the room. To find the center, measure and mark the midpoint of each wall. Snap chalk lines between the midpoints of opposite walls to intersect in the center of the room. This intersection is your starting point, ensuring your tiling work will be symmetrical and balanced.
3. Dry Layout
Before you mix any adhesive, do a dry layout. Lay your tiles along the chalk lines toward the walls in each direction. Use spacers to ensure even gaps for the grout. This step helps you figure out how many tiles you need and whether you need to cut tiles for the edges. Adjust the layout if necessary to avoid using small tile pieces along the walls.
4. Mixing and Applying Adhesive
Once satisfied with your layout, mix your tile adhesive according to the manufacturer's instructions. Using a notched trowel, apply the adhesive in small sections, starting from the center. Press each tile firmly into place, twisting slightly to secure it into the adhesive. Ensure you maintain consistent spacing with spacers.
5. Cutting Tiles
You'll likely need to cut tiles to fit along walls and around obstacles. Use a tile cutter for straight cuts and a tile saw for any curved or complex shapes. Always measure twice before cutting to ensure accuracy.
6. Grouting
After the tiles have been laid and the adhesive has set (typically after 24 hours), remove the spacers and prepare to grout. Choose a grout colour that complements your tiles and mix it according to the instructions. Apply the grout with a rubber float, working it into the gaps between the tiles. Wipe off any excess grout with a damp sponge. Allow the grout to cure for the time specified by the manufacturer before walking on the floor or sealing the grout.
7. Sealing and Cleaning
Finally, apply a sealer to both the tiles and grout lines, especially in high-moisture areas. This will protect your flooring from stains and moisture penetration. Regular cleaning with suitable products will keep your new floor looking great for years to come.
By following these steps, you can ensure that your floor tiling project is successful and durable. For more tips and personalised advice, visit Canterbury Tiling Plus or contact our Christchurch-based tiling experts. Ready to enhance your home with professional tiling? Get in touch with us for a free quote today!
Comentários